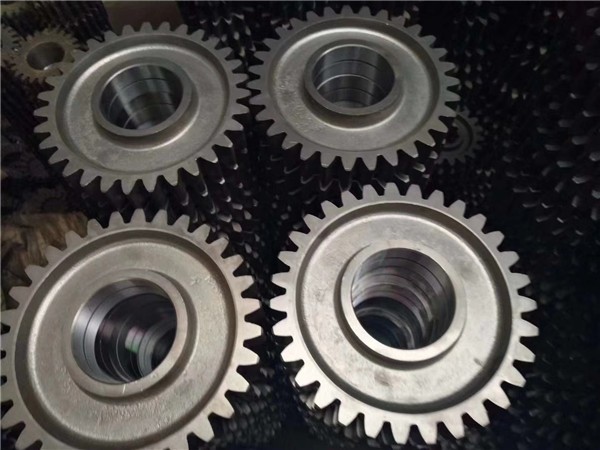
Introduction To the Four Stages of Gear Processing
Introduction To the Four Stages of Gear Processing
Stage one: the initial step of the tooth blank into the machining process
Since the gear transmission accuracy is mainly determined by the tooth profile accuracy and the tooth pitch distribution uniformity, and this has a direct relationship with the accuracy of the positioning reference (hole and end face) used when cutting the tooth, the gear machining at this stage is mainly for the next The first-stage machining of the tooth shape prepares the fine reference, so that the accuracy of the inner hole and the end surface of the tooth substantially meets the specified technical requirements. In addition to machining the benchmarks at this stage, the processing of minor surfaces other than the tooth profile should be done as late as possible in this phase.
Stage two: machining of the tooth shape
For gears that do not require quenching, this stage is generally the latter stage of gear machining. After this stage, gears that fully meet the requirements of the drawings should be machined. For gears that require hardening, the tooth profile accuracy required for post-finishing to meet the tooth profile must be machined at this stage, so machining at this stage is a critical stage in ensuring gear machining accuracy. Special attention should be paid.
Stage three: heat treatment
At this stage of gear machining, the tooth surface is quenched to achieve the specified hardness requirements.
Stage four: the finishing stage of the tooth form
The purpose of this stage is to correct the tooth profile deformation caused by the quenching of the gear, further improve the tooth profile accuracy and reduce the surface roughness to achieve the final accuracy requirements. In this stage of gear machining, the positioning datum (hole and end face) should be trimmed first, and the inner hole and the end face of the gear will be deformed after quenching. If the hole and the end face are directly used as the reference after the quenching Shape finishing is difficult to achieve the requirements of gear accuracy. The toothed finishing with the trimmed reference surface positioning makes the positioning accurate and reliable, and the balance distribution is relatively uniform, so as to achieve the purpose of finishing.

